Keeping your white sneakers clean and bright can be tough. With everyday wear, dust, sunlight, & unexpected stains, they can start turning yellow fast. In this post, we’ll show you a simple & easy way to make your sneakers white again — even if the stains look really stubborn.
Why you can trust us:
● We’ve spent years in shoe care, learning what truly keeps shoes clean and fresh.
● Eagle Shoe Care has helped thousands restore & maintain their shoes with simple methods.
● We stay updated on new shoe care tips and techniques to share reliable advice.
If you want more helpful tips, guides, and easy shoe care tricks, keep exploring our website — we’re here to help you take the best care of your shoes.
Table of Content
Reasons for White Sneakers Turning Yellow
1. Oxidation
2. Absorption of Dirt, Sweat, and Oils
3. Long-Time Sunlight Exposure
4. Everyday Use Incidents
Two-Step Sneaker Whitening Fix
● Step 1: Essential Preparations, Cleaning, & Removing Stains
● Step 2: Sneaker Whitening with White Shoe Polish Kit
Post Polish Maintenance Tips
Conclusions
Frequently Asked Questions
Reasons for White Sneakers Turning Yellow
When you bought new sneakers, they looked white and graceful. But, with the passage of time, they turn yellow. I have listed these possible reasons for this activity:
1. Oxidation
One of the primary causes of yellowing is the oxidation process. When rubber or other materials come into contact with air and sunlight, they experience a chemical reaction resulting in yellowing.
2. Absorption of Dirt, Sweat, and Oils
The white fabric of sneakers, especially the canvas, can easily absorb environmental dirt, dust, human body sweat, and oils. Over time, these stains become stubborn and turn the sneakers yellow.
3. Long-Time Sunlight Exposure
Exposure of sneakers to direct sunlight / UV rays can cause the white sneakers to turn yellow very easily.
4. Everyday Use Incidents
Daily use of sneakers results in friction, accidents, and other activities that turn the color of sneakers dull and ultimately yellow.
Advertisement
728x90 Square
AdSense Banner
Two-Step Sneaker Whitening Fix
You can easily turn your yellow-stained sneakers white through a simple process. Just follow this simple two-step process:
Step 1: Essential Preparations, Cleaning, and Removing Stains
Before starting the shoe polishing, you need to do some mandatory preparations and clean dirt stains. You can do it by following these simple steps:
- ◈ Remove the Laces and Insoles: Start by detaching the laces and insoles, which will allow you to inspect and treat every part of your shoes.
- ◈ Removing the Loose Dirt: Detach the loose dirt, dust, and debris using a soft-bristle brush or an old toothbrush.
- ◈ Preparing the Cleaning Solution: Take warm water and add detergent to it, and then mix thoroughly to make a cleaning solution.
- ◈ Spot Cleaning of Tough Stains: Dip the brush in this solution and clean the difficult stains by scrubbing the brush in a circular motion. Especially, focus on the mid-sole part and toe gaps.
- ◈ Dry out the Sneakers: Next, use a microfiber cloth to remove any extra moisture from the sneakers.
Note: Please avoid exposing your sneakers to direct sunlight, because they can easily cause yellowing.

Further Readings
Step 2: Sneaker Whitening with White Shoe Polish Kit
Now, in this step, we will polish and whiten the cleaned sneakers. You only need to follow these simple and easy steps:
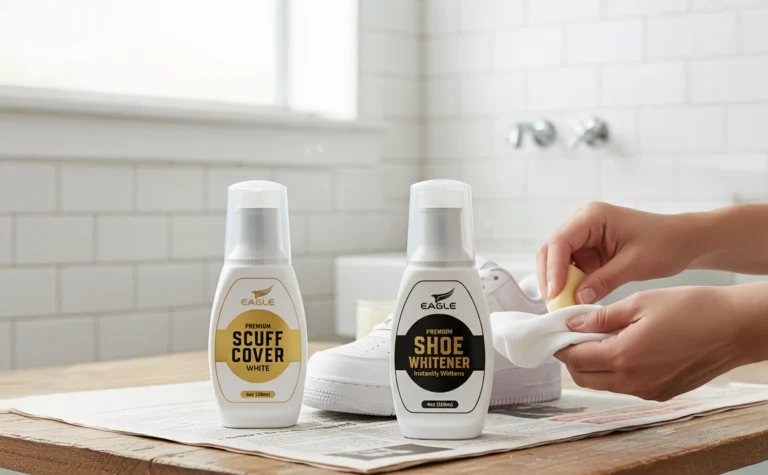
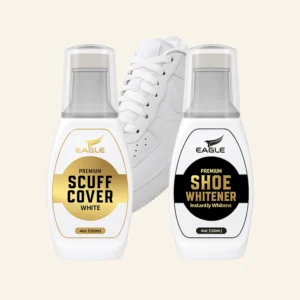
- ◈ Uniform Polish Application: Take the “Premium Shoe Whitener” from the “White Shoe Polish Kit”, and spread a thin layer on your sneakers using the attached sponge on top of the bottle. Focus especially on the faded and scuffed parts of sneakers.
- ◈ Buffing the applied Polish: Buff the polish on sneakers in a circular motion. It will increase its intake and boost its shine.
- Use of this whitening polish will provide a protective layer against UV radiation, dust, and other causes of yellowing.
Post Polish Maintenance Tips
Fixing your white sneakers once is not enough. Instead, you have to make an effort to maintain its elegance over time. Here are the tips for keeping your sneakers new:
- ◈ Regular Cleaning: Give a 30-second cleaning and wiping service after each wear with a wet cloth. It will avoid dust and debris build-up.
- ◈ Proper Storage: Store your sneakers in a cool and dry place to avoid direct sunlight. Additionally, put old newspaper inside the sneakers to maintain their shape.
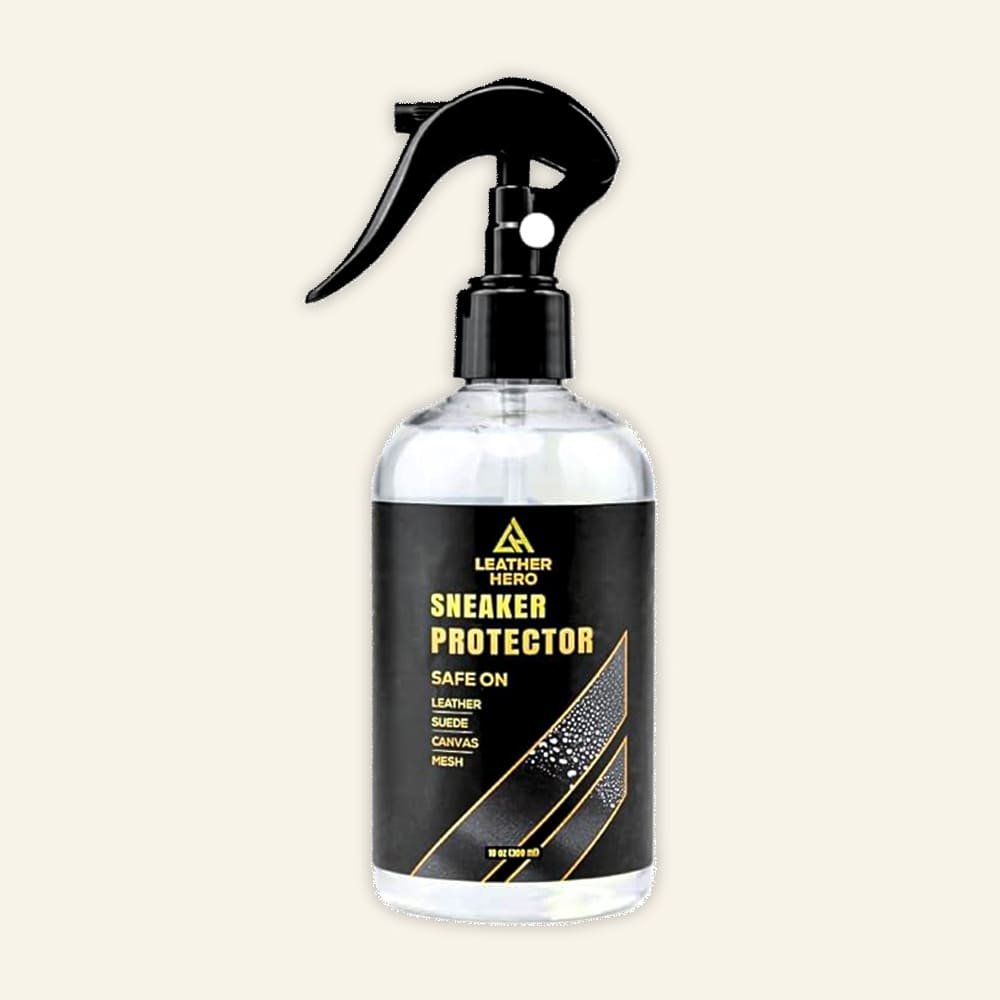
- ◈ Using Protector Spray: After whitening, use the Leather Hero Shoe Protector Spray to avoid the harmful effects of UV rays, dirt, and moisture.
- Apply the white polish on your sneakers regularly. It will keep your sneakers new all the time.
Advertisement
728x90 Square
AdSense Banner
Conclusion
There is no need to take extra care of your white sneakers. Instead, you only need to understand the reasons behind the yellowing of your sneakers and take preventive actions to keep them new all the time.
You can do this by using the White Shoe Polish Kit. So, do not throw away your yellow sneakers. Instead, make them white and share your experience in the comment section.
Frequently Asked Questions
Why do white sneakers turn yellow?
White sneakers can turn yellow because of sunlight, oxidation, dirt, sweat, and everyday wear.
Can yellowed sneakers be cleaned and whitened?
Yes! With proper cleaning and whitening techniques, even stubborn yellow stains can be removed.
Can I use this method on all types of white sneakers?
Yes, this works for canvas, rubber, and mixed-material sneakers, but always spot-test first on delicate fabrics.
How can I prevent sneakers from turning yellow again?
Clean regularly, store away from direct sunlight, use protector spray, and reapply polish as needed.
Choosing the right glue for your DIY projects or shoe repairs can be tricky — especially when you’re deciding between popular adhesives like E6000 and B7000. Both are strong, versatile, and widely used, but they have key differences that can make one better suited for your project than the other.
At Eagle Shoe Care, we’ve spent years in the shoe care and repair industry, testing adhesives on leather, soles, fabrics, and more. In this guide, we’ll break down the strengths, drying times, flexibility, and ideal uses of E6000 and B7000, so you can choose the perfect glue for your next repair or craft.
Why you can trust us:
● With hands-on experience in shoe care and repairs, we know which adhesives deliver real results.
● We focus on testing, reviewing, and sharing honest, practical insights, so you can make the right choice without guessing.
Keep reading for our full comparison, technical breakdown, and recommendations to find out whether E6000 or B7000 is best for your project.
Table of Content
What is E6000 Glue?
What is B7000 Glue?
A Quick Comparison Between the E6000 and B7000 Glue
Technical Difference Between E6000 and B7000 Glue
Pricing Difference of E6000 and B7000 Glue?
My Experience with B7000 Glue
1. How Did I Find E6000 Glue?
2. Which Glue Should You Choose? (Final Suggestion)
Conclusions
Frequently Asked Questions
Glue Comparison Video
What is E6000 Glue?
The E6000 glue is an adhesive having a solvent that is set in a few minutes. Due to its strength and versatility, you can use it for your regular household and industrial work. It is equally good for different surfaces ranging from plastic to fabric.
What is B7000 Glue?
The B7000 glue is a single-component epoxy which means that it does not require mixing of any other material before its use. It comes in ready-to-use form to provide superior-quality adhesion.
The strong bonding with flexibility, environment-friendly, and transparent color are the distinctive features of B7000 glue. It is a specialized adhesive for fabric and leather.
What is the drying time?
E6000 Glue
The tack time of E6000 glue is ~4 minutes, and the set time is 20 minutes.
B7000 Glue
The B7000 glue will do surface dying in 3-6 minutes, while its full cure will happen in 24-48 hours.
What is the best material to use?
E6000 Glue
The E6000 glue is best for wood, metal, glass, fiberglass, ceramics, and masonry. Additionally, you can use it for the concrete, leather, vinyl, and plastics.
B7000 Glue
The metals, glass, ceramics, stone, wood, cloth, leather, plastics, rubber, and textile materials are best for B7000 glue.
Where are they commonly used?
E6000 Glue
The E6000 glue provides a strong bond and a firm attachment. Therefore, it is commonly used for satin fixing or plastic boning to fabrics. Similarly, you can bind a rhinestone belt to a fabric sash.
B7000 Glue
The B7000 glue ensures tight bonding and quick drying time. Furthermore, it does not create a mess on the applied surface. So, it is commonly used to attach a separated shoe sole. Moreover, it is best for fabric-based projects and their repair.
Advertisement
728x90 Square
AdSense Banner
Pricing Difference of E6000 and B7000 Glue?
How Did I Find E6000 Glue?
I also used E6000 glue for another project, creating a blinged-out phone case. I placed rhinestones on it using the glue. The glue provided me with a clear coat, but it got messy while being applied.
So, I suggest you use toothpicks to spread it on the surface. Moreover, it also gives off an odor when you open the bottle. Be careful if you have any issues with these kinds of odors.
After application, it takes around 30 minutes to get tacky. Therefore, it allowed me to move the rhinestones slightly before the final cure. The E6000 glue took 24 hours to have a full cure.
It held rhinestones attached for a long time. Therefore, I recommend it as a perfect adhesive for crafting and other such projects.

Further Readings
- How to choose the Yoga Mat based on your yoga level?
- How to master the Yoga Hardest positions?
My Experience with B7000 Glue
I make handcraft designs with metal components and set stones to sell online. I used B7000 glue to stick these metal components and set stones on these crafted designs and found it amazing. It gets cured like a clear crystal within 24 hours without leaving yellow or other color marks.
Moreover, it does not create fumes like any other adhesive. So, the lack of fumes allows me to work comfortably in my indoor spaces.
Additionally, the B7000 glue penetrates deep into the crevices of stones, giving it a strong and transparent hold on the craft design.
Furthermore, it can withstand high temperatures of 250°F without damaging the texture of the craft. You can use it on a variety of jewelry applications.
I am recommending all my handcraft business friends to use the B7000 glue for your metal and stone items. You will love the quality of bonding and the transparent look of your craft.
Advertisement
728x90 Square
AdSense Banner
Conclusion
Selecting B7000 or E6000 glue entirely depends on the nature of your project. If you want glue for common bonds on various projects, use E6000 glue.
On the other hand, go for B7000 glue for specialized projects involving fabric and other delicate materials. Use my review and experience for a better glue choice and make your projects successful.
Frequently Asked Questions
Is B7000 best for fabric or E6000?
The E6000 is used for common bonding on multiple surfaces, while the B7000 glue is a specialized adhesive for fabric.
Is B7000 glue waterproof?
Yes, the B7000 glue is waterproof.
Which glue dries fast, B7000 or E6000?
The E6000 glue dries fast because it is a solvent-based adhesive, unlike the B7000 glue, which is an epoxy adhesive.
Can we use E6000 glue for rhinestones?
Yes, we can use E6000 glue to fix rhinestones on fabric.
Is B7000 glue good for phone repair work?
Yes! The B7000 glue is best for screen replacement and other phone repair works.
