Are you the one whose sandal soles are separated, but you love them so much that you do not want to change them? It’s absolutely doable.I have a solution for you.Use our super-strength glue known as Eagle Shoe Cement.I will guide you on the common causes of sole separation and when to repair them.
Additionally, you will learn about the best sole repair glue and receive a comprehensive guide on how to use it.Read the blog to explore the details.
Typical Causes of Sandal Sole Coming Off
A sandal sole breaks away from the wearer, but commonly, there is more at play. If you have found yourself in a similar situation, then know these usual sole wear out:
Material Collapse With Time: With the passage of time, the quality of the sole material and applied glue starts to deteriorate. Ultimately, the sole loses its grip and gets separated.
Rough Use of Sandals: Using sandals on uneven surfaces such as mountains, terrains, and muddy areas also damages the soles and wears them off before their time.
Poor Making of Sandals: Sometimes the manufacturer intentionally uses poor material to make sandals, which results in early damage to the sole.
Unusual Temperature Conditions: Extreme temperature conditions, such as high or low temperatures, can impact the sole material and the applied glue.It, in turn, can damage the sandal sole.
According to these signs, your sandal sole is seriously damaged and needs an evaluation to determine whether it is repairable or not.
When Do You Need to Repair the Sandal Sole?
If the split between the sandal and sole is small and has not damaged its stability, then fix the sole yourself.However, the sole is completely falling apart and has badly damaged the sandal’s structure; hire a professional cobbler.
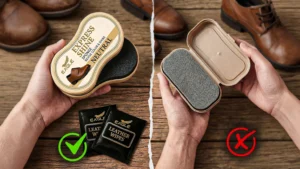
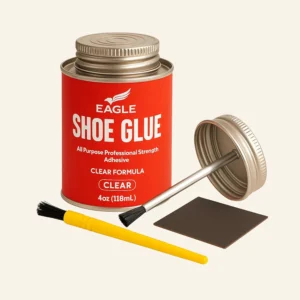
About Our Super Strength Glue
Our super-strength glue, the Eagle Shoe Cement, can easily fix separated sandal soles.Additionally, you can use it on a variety of materials like rubber, leather,and other shoe materials.It is the best adhesive for DIY sandal repair.
A Complete Guide to Permanently Fix a Separated Sandle Sole
You can easily repair the peeling off the sole of your favourite sandals by following these simple steps:
Step 1: Estimate the Sole Damage
Start by carefully examining the damaged sandal sole to determine the extent of the damage.Check for cracks, tears, broken pieces, and specific areas of sole damage.If the sandal is not completely damaged and can be repaired, move on to the next step.
Step 2: Cleaning of the Damaged Area
After that, clean the sandal sole with a dry brush or cloth to remove dirt, dust, and debris.Remove the old glue with a sharp knife. Finally, ensure that the bottom surface and upper part of the sole are completely clean and dry to facilitate smooth application of glue.
Tip: Take some sandpaper to accurately hold the glue on its surface, and make the surface slightly rough.
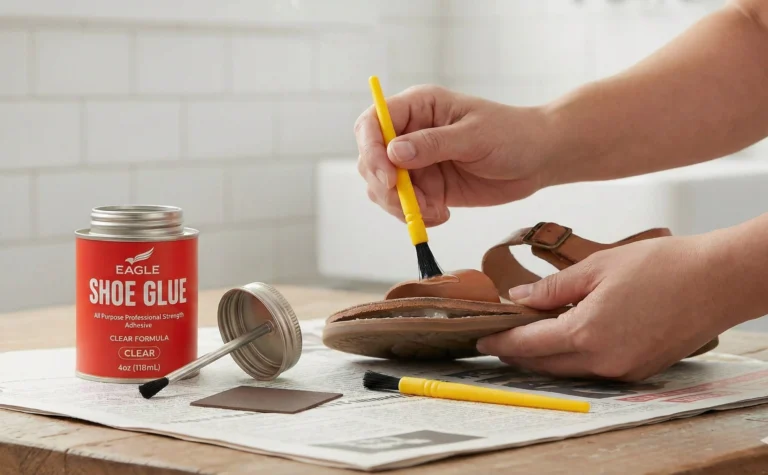
Step 3: Apply Our Super Strength Glue
Now, it is time to show you the magic.Take the jar of our Eagle Shoe Cement and shake it well.Next, open the lid and take a small amount of the glue on the fine brush inside the packaging, and start applying. Please evenly spread the glue on the bottom surface of the sole and the upper part.
Step 4: Give a Tack Time
After applying the glue, do not attach both sides immediately.Instead, leave both sides for 2-3 minutes to allow the glue to set and become sticky.This tack time will give stronger bonding and increase the efficiency of the glue.
Step 5: Join the Both Ends
Now join the sole with the upper portion firmly and press it with both thumbs of your hands.Start from the toe area and move towards the heel portion to remove any trapped air.After that, clean out any squeezed-out glue with a clean cloth or a tissue.
Step 6: Put Weight for Strong Bond
Next, to make it stronger, put the extra weight on the repaired sole.You can put a rubber band, attach the strong clips, or even put heavy books.
Step 7: Leave it to Completely Cure
Leave the sandals for 12-24 hours untouched to completely cure.During this time, keep them in a dry place at room temperature.
After that, press the glue area to check the repaired sandals and start wearing them.
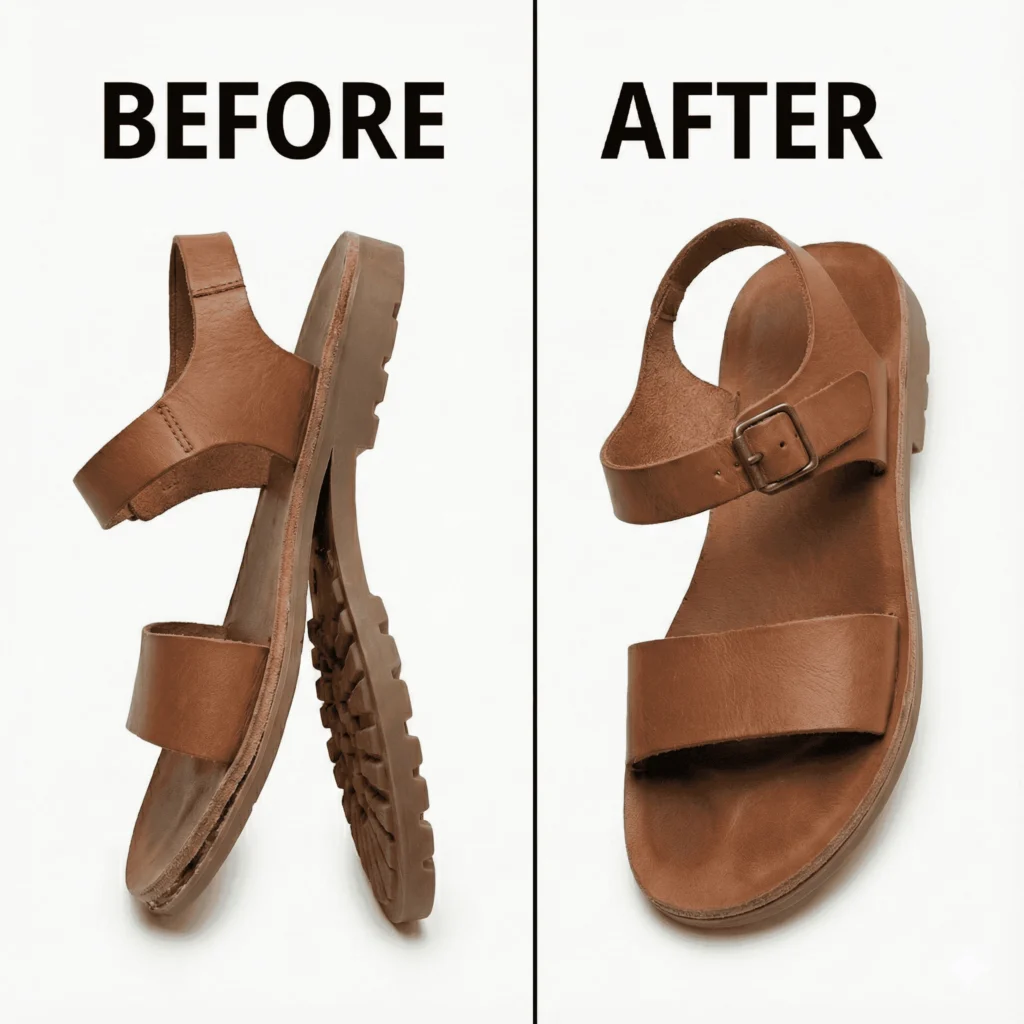
Following these easy steps, you have saved your favourite sandals from going to the dustbin and given them a new life.
Conclusion
A separated sole is not the end of your favourite sandal, especially when you know the causes of its damage, the right time to repair,the best glue for soles, and a complete guide.
Use the correct adhesive and application approach mentioned in this blog. Apply this knowledge and give your sandals a new life.Wishing you the sweet, gluing experience!
Frequently Asked Questions
Why did my sandal sole separate?
It usually happens due to old glue, worn-out material, rough use, or extreme temperatures.
Can I fix a separated sole at home?
Yes, if the damage is small. Eagle Shoe Cement can easily repair minor to moderate separation.
How long should I let the glue cure?
Let the sandals sit for 12–24 hours without movement for a strong bond.
When do I need a professional?
If the sole is fully detached or the sandal structure is damaged, visit a cobbler.
Are you the one whose sandal soles are separated, but you love them so much that you do not want to change them? It’s absolutely doable.I have a solution for you.Use our super-strength glue known as Eagle Shoe Cement.I will guide you on the common causes of sole separation and when to repair them.
Additionally, you will learn about the best sole repair glue and receive a comprehensive guide on how to use it.Read the blog to explore the details.
Typical Causes of Sandal Sole Coming Off
A sandal sole breaks away from the wearer, but commonly, there is more at play. If you have found yourself in a similar situation, then know these usual sole wear out:
Material Collapse With Time: With the passage of time, the quality of the sole material and applied glue starts to deteriorate. Ultimately, the sole loses its grip and gets separated.
Rough Use of Sandals: Using sandals on uneven surfaces such as mountains, terrains, and muddy areas also damages the soles and wears them off before their time.
Poor Making of Sandals: Sometimes the manufacturer intentionally uses poor material to make sandals, which results in early damage to the sole.
Unusual Temperature Conditions: Extreme temperature conditions, such as high or low temperatures, can impact the sole material and the applied glue.It, in turn, can damage the sandal sole.
According to these signs, your sandal sole is seriously damaged and needs an evaluation to determine whether it is repairable or not.
When Do You Need to Repair the Sandal Sole?
If the split between the sandal and sole is small and has not damaged its stability, then fix the sole yourself.However, the sole is completely falling apart and has badly damaged the sandal’s structure; hire a professional cobbler.
About Our Super Strength Glue
Our super-strength glue, the Eagle Shoe Cement, can easily fix separated sandal soles.Additionally, you can use it on a variety of materials like rubber, leather,and other shoe materials.It is the best adhesive for DIY sandal repair.
A Complete Guide to Permanently Fix a Separated Sandle Sole
You can easily repair the peeling off the sole of your favourite sandals by following these simple steps:
Step 1: Estimate the Sole Damage
Start by carefully examining the damaged sandal sole to determine the extent of the damage.Check for cracks, tears, broken pieces, and specific areas of sole damage.If the sandal is not completely damaged and can be repaired, move on to the next step.
Step 2: Cleaning of the Damaged Area
After that, clean the sandal sole with a dry brush or cloth to remove dirt, dust, and debris.Remove the old glue with a sharp knife. Finally, ensure that the bottom surface and upper part of the sole are completely clean and dry to facilitate smooth application of glue.
Tip: Take some sandpaper to accurately hold the glue on its surface, and make the surface slightly rough.
Step 3: Apply Our Super Strength Glue
Now, it is time to show you the magic.Take the jar of our Eagle Shoe Cement and shake it well.Next, open the lid and take a small amount of the glue on the fine brush inside the packaging, and start applying. Please evenly spread the glue on the bottom surface of the sole and the upper part.
Step 4: Give a Tack Time
After applying the glue, do not attach both sides immediately.Instead, leave both sides for 2-3 minutes to allow the glue to set and become sticky.This tack time will give stronger bonding and increase the efficiency of the glue.
Step 5: Join the Both Ends
Now join the sole with the upper portion firmly and press it with both thumbs of your hands.Start from the toe area and move towards the heel portion to remove any trapped air.After that, clean out any squeezed-out glue with a clean cloth or a tissue.
Step 6: Put Weight for Strong Bond
Next, to make it stronger, put the extra weight on the repaired sole.You can put a rubber band, attach the strong clips, or even put heavy books.
Step 7: Leave it to Completely Cure
Leave the sandals for 12-24 hours untouched to completely cure.During this time, keep them in a dry place at room temperature.
After that, press the glue area to check the repaired sandals and start wearing them.
Following these easy steps, you have saved your favourite sandals from going to the dustbin and given them a new life.
Conclusion
A separated sole is not the end of your favourite sandal, especially when you know the causes of its damage, the right time to repair,the best glue for soles, and a complete guide.
Use the correct adhesive and application approach mentioned in this blog. Apply this knowledge and give your sandals a new life.Wishing you the sweet, gluing experience!
Frequently Asked Questions
Why did my sandal sole separate?
It usually happens due to old glue, worn-out material, rough use, or extreme temperatures.
Can I fix a separated sole at home?
Yes, if the damage is small. Eagle Shoe Cement can easily repair minor to moderate separation.
How long should I let the glue cure?
Let the sandals sit for 12–24 hours without movement for a strong bond.
When do I need a professional?
If the sole is fully detached or the sandal structure is damaged, visit a cobbler.